Why a Golf Simulator?
Living in the snowy half of the Midwest the idea of year-round golf has always been a dream. Although I have played every month of the year it was only because I am not a bright individual and will put myself through some brutal conditions to get a round in. The idea of indoor practice has been something I have grown up trying to accomplish. From putting around the basement to a garage net my dad had set up a few winters, the idea of winter practice has always been alluring, but the limited feedback of “feel” never gave me the insight to improve.
Once I had a house of my own, I did build a small garage setup with an Optishot and net but was relegated to irons only and foam balls to boot. This brings us to the near present as we looked for a new house and landed on one with 10 ft ceilings in the basement. Let’s just say my mind was already churning. My wife, being a wise and generous woman, gave me free rein of that space. So the planning began.
Intended Use & Considerations
I wanted an indoor practice area for most of the same reasons everyone else would.
- Not only to keep my swing from getting rusty but to try to improve my path and impact.
- Enjoy Simulated rounds to keep some variety and maintain course management principles.
- Work on some speed training to help increase my cruising speed of all clubs.
One of the added benefits that I didn’t initially plan for was the ability to boot everything up and get 9 holes or some range time in under 30 minutes. With 2 toddlers this is a much-needed departure from the 3ish hours trying to plan for 9 holes, travel time, warm up, and loading and unloading.
I also want to stay on a minimal budget, since I just bought a new house and have two little ones running around. So if I felt I could DIY it, within reason, I would. I also planned that each piece of the puzzle is independent of the rest so if/when I decide to upgrade anything it won’t impact the others.

Space Planning
Having a general space of 12 ft wide and 16ish feet deep, and knowing the recommended flight distance for most launch monitors I knew I needed to hit toward the 12ft wide wall. Avoiding some overhead ducting, I identified the best spot for impact was 11’ off the screen wall and 5’ off one wall. I would have liked to center on the screen but I worry about catching the back wall with a driver. Some dry exaggerated swings informed me I had about 6” clearance from the ducting and back wall.

Materials & Cost
So now what you’re all probably here for, how did I actually build this dang thing and what did it cost?
Impact Screen – $319
- 10’x7.7’ Carl’s Preferred Golf with Flaps
- This was a clearance screen and came with 1 small blemish but it’s only noticeable close up.
- Very good quality easy to clean and the image looks great from 8’+ away
Frame – $158
- 3/4”x10’ EMT pipes (Menards)
- 3-way elbows, tees, Wall flanges – these have set screws to secure all the tubes in place. (Steel-tek all from Lowes)
- Pipe Insulation – Lower the risk of impact of a ball slamming into a metal pipe
- Netting/flaps – Joann Fabric netting – Double layer on top to catch any skyed or stray balls (This was a late addition….)
- Ball Bungees


Projector – $635
- BenQ MW632ST – Short throw projector with Decent resolution especially from 8’
- Ceiling Mount – $30
Mat – ≈$50
- Stance Mat – Carpet, Gym Mat & Carpet Tape – All scrap from around the house -≈20
- DIY Divot Action – Foam Tape, HDPE Sheet, artificial turf – $30
- This was primarily to have a soft surface that is durable and would not blow out my wrists/elbows.
- I also have enough material to make 3 boards, either for spare replacements or different turf surfaces.
Launch Monitor – $600
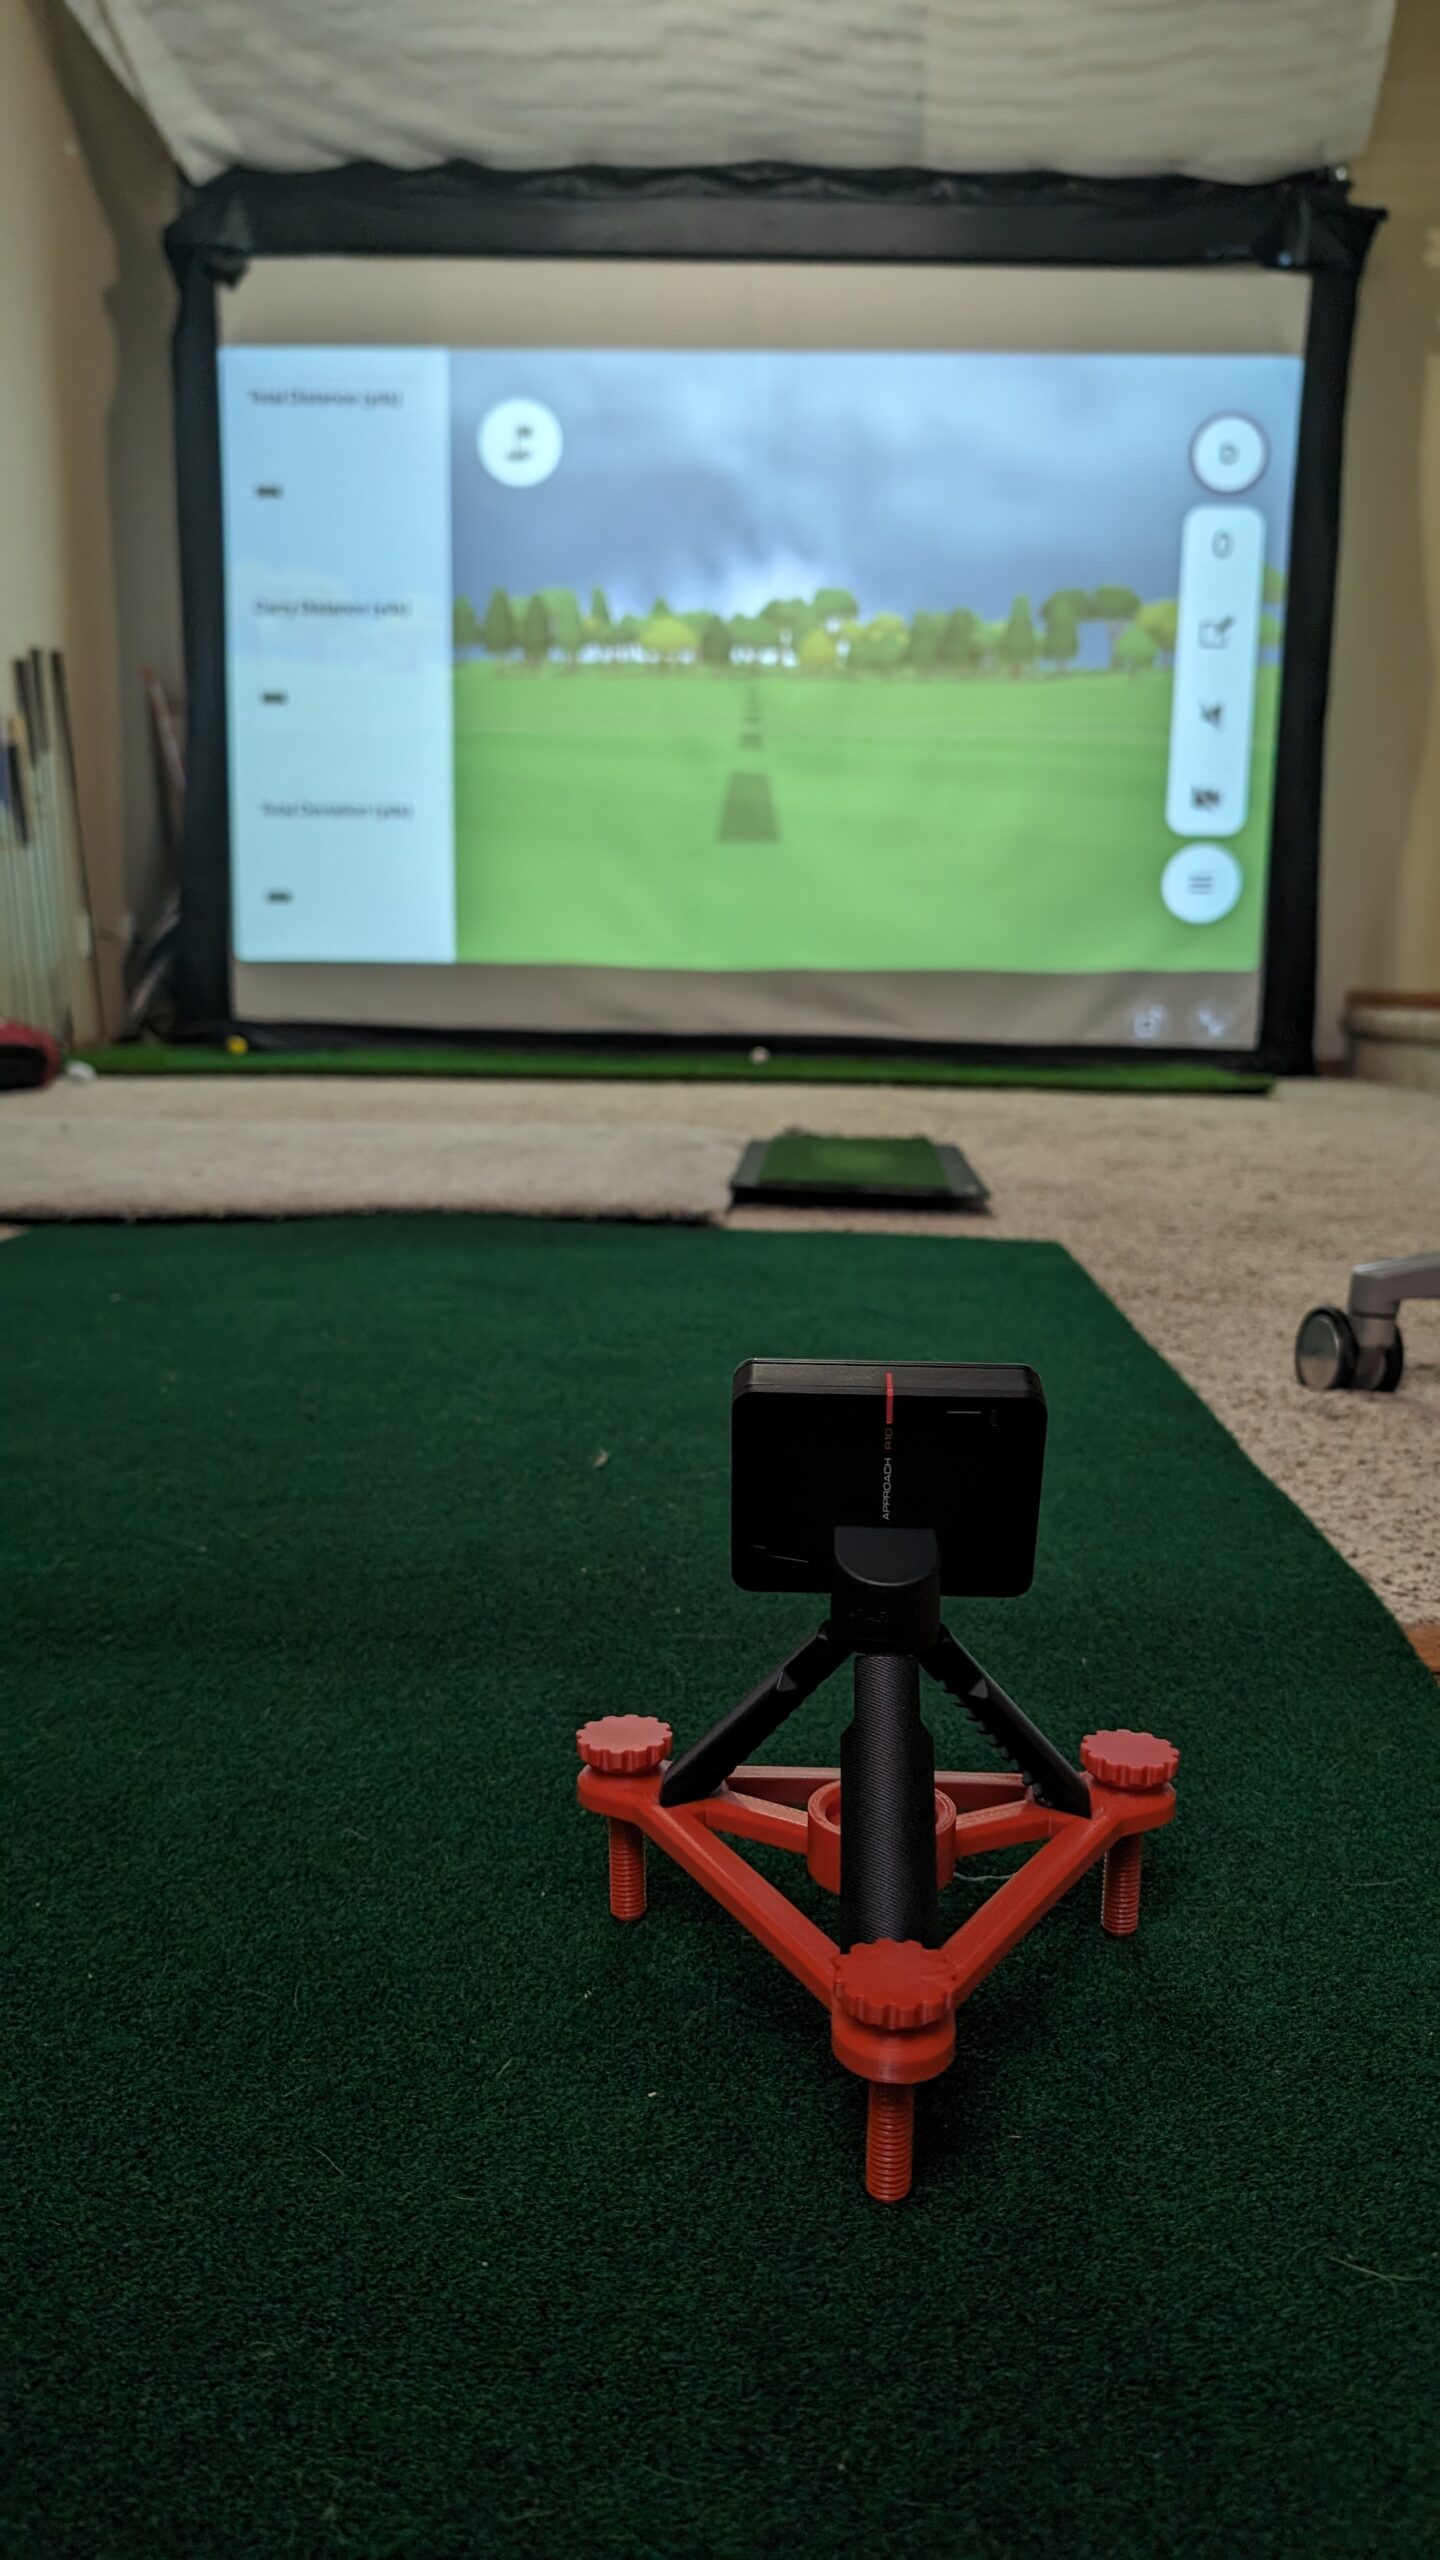
- Garmin R10 – Great compact simulator for indoors and out. Check out my full review for more details.


Other & Décor
To connect with the projector, I have an old iPad paired with the R10 that is shared to a Roku for projection. I tried to finish out the space with some Posters and Flags (courtesy of my father) and one of my favorite additions is hanging my clubs & shafts on the wall with some 3D-printed clips.
So with all that detail what’s the total number? $1,772 This obviously, didn’t include any labor or odds and ends that may have been needed (zip ties, tape, bandaids, etc.) I can firmly say that it landed under $2k though which was a challenge. I could have spent $2k on a lot worse things than my dream golf basement. Also, keep in mind I tried to DIY as much as I could while still using quality materials.


Future Plans
There is always more to be done and the biggest area I feel that can be improved is the stance mat. Following that would be a better solution for long-putting practice. Reiterating one of the main fundamentals of this build is that every part is independent of each other and can be upgraded to take incremental steps forward. My mind is continually going on what I want to do next.
Let me know if you have any suggestions, what to improve next, or questions on this build.
